Designers & installers
Lay out drainage and tapered insulation boards. Check heights in section, inspect the layers in 3D and give the installation team a layout without quotation prices.

From geometry to a finished roof
From the first line to finished boards. Design tapered EPS insulation, show the roof in 3D and prepare installation and production documents.
Sloper WEB · Your design workspace in the browser
Open sample HTML project ↗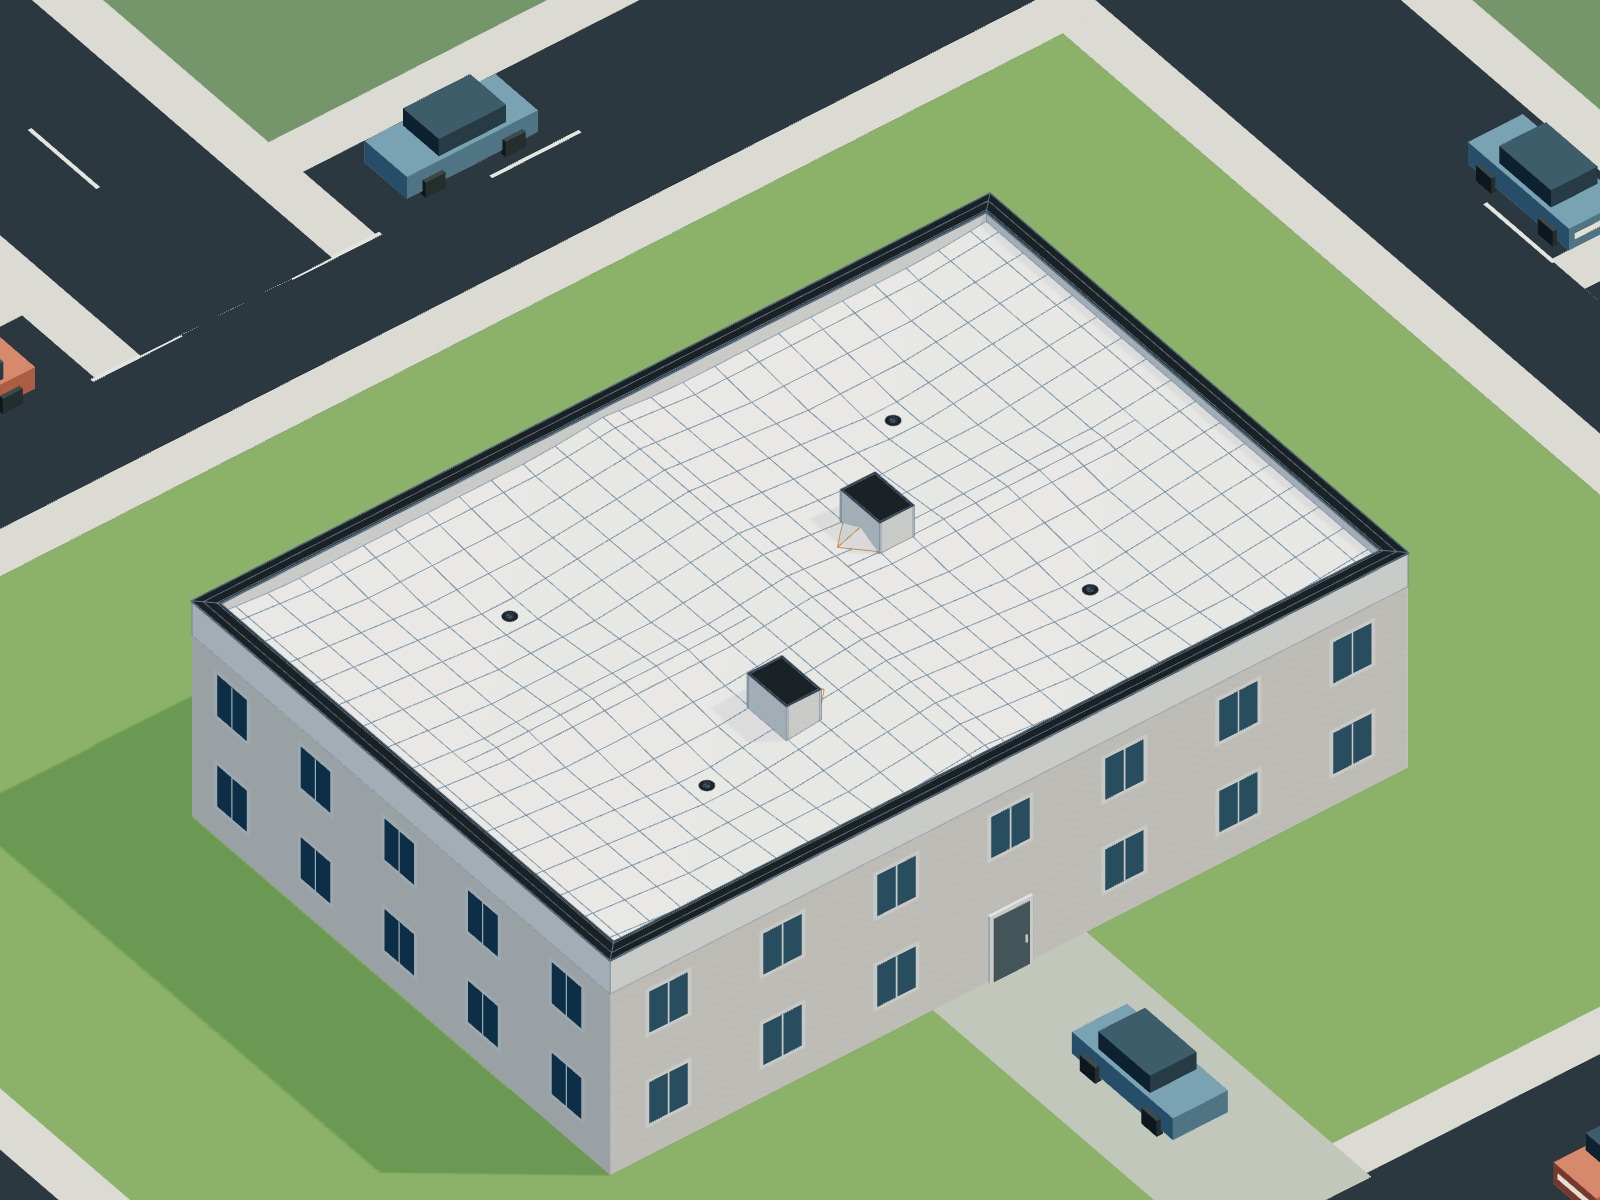
Built around your role
Work from one project and give each recipient the information they need for their next step.
Lay out drainage and tapered insulation boards. Check heights in section, inspect the layers in 3D and give the installation team a layout without quotation prices.
Prepare roof alternatives and a quotation using your own price list. Customers receive an interactive project they can view without a Sloper account, with prices in a separate document.
Turn material requirements into block cutting layouts. Review material use and repeat counts, inspect the toolpath and send the layout to a connected SlopeCut workstation.
One project. Every stage of the job.
Slopes, outlets, drainage channels and crickets in one model. Move from drawing to documentation without manually copying quantities.
Outlets, gutters and drainage channels. Design roofs with openings, penetrations and mixed drainage layouts.
Product schedules, your own price list, fastening selection and lamination. Quotations kept separate from installation documents.
Your client opens the interactive file in a browser, inspects boards, adds sections and explores the roof in 3D.
Explore the capabilities
Start with the geometry. The following modules use the same model to prepare quantities, a quotation, documentation and production layouts.
Import a PDF, DWG or image underlay, calibrate the scale and draw your roof. Snapping, dimensions, copied elements and edge editing help you make revisions.
Combine roof drains, gutters and drainage channels. Add penetrations, openings and crickets. Review the calculated layout and adjust elements manually where needed.
Review standard boards, A/B and K/G profiles, boundary cuts and quantity schedules. Add allowances yourself and check their impact on material volume.
Inspect board corner heights and layer sections. Explore the roof in a 3D walkthrough. U-value results identify the included layers and calculation basis.
Prepare block layouts with repeat counts, inspect toolpaths in 2D and pieces in 3D. Add supplementary cutting orders and OSB or wedge rebates. Download DXF or send a layout to SlopeCut.
Use your company price list and project rates. Generate separate quotations, installation plans and production documents. Interactive HTML lets customers explore the roof and add comments.
Additional modules cover fastener selection, bitumen felt lamination and roof material takeoff. Change their visibility in the Modules menu.
See the space, understand the design
Show insulation layers, analyse a section and view slopes from the installer's perspective. One project, many ways to inspect it.
Sloper + SlopeCut
Prepare block cutting layouts and send the selected layout to a connected SlopeCut with one click.
The WEB version uses a local SlopeCut connector. The operator checks the layout and starts cutting at the machine.
Beyond the roof layout
Three modules for the next stages of an order. Explore real application screens — click any screenshot to enlarge it.
Does your customer need extra boards after the roof delivery? Select a project profile and quantity, or define a new board manually. Sloper prepares separate cutting layouts and a quotation for the supplementary order.
Request machining on a chosen quantity of boards. Select a profile and rebate parameters; Sloper allocates the operations to available pieces in cutting layouts. You can also define a new board manually.
Price the products designed in Sloper: tapered boards, K/G, troughs, base insulation, crickets and supplementary boards, plus requested services. This is a materials and machining quotation, not an estimate for every construction trade.
Project and rates are illustrative. Labels in foreign-language materials were translated for the presentation; full application localization is in progress.
Take your design further
Clients, installers and cutting operators need different information. Prepare documents for the next stage of work.
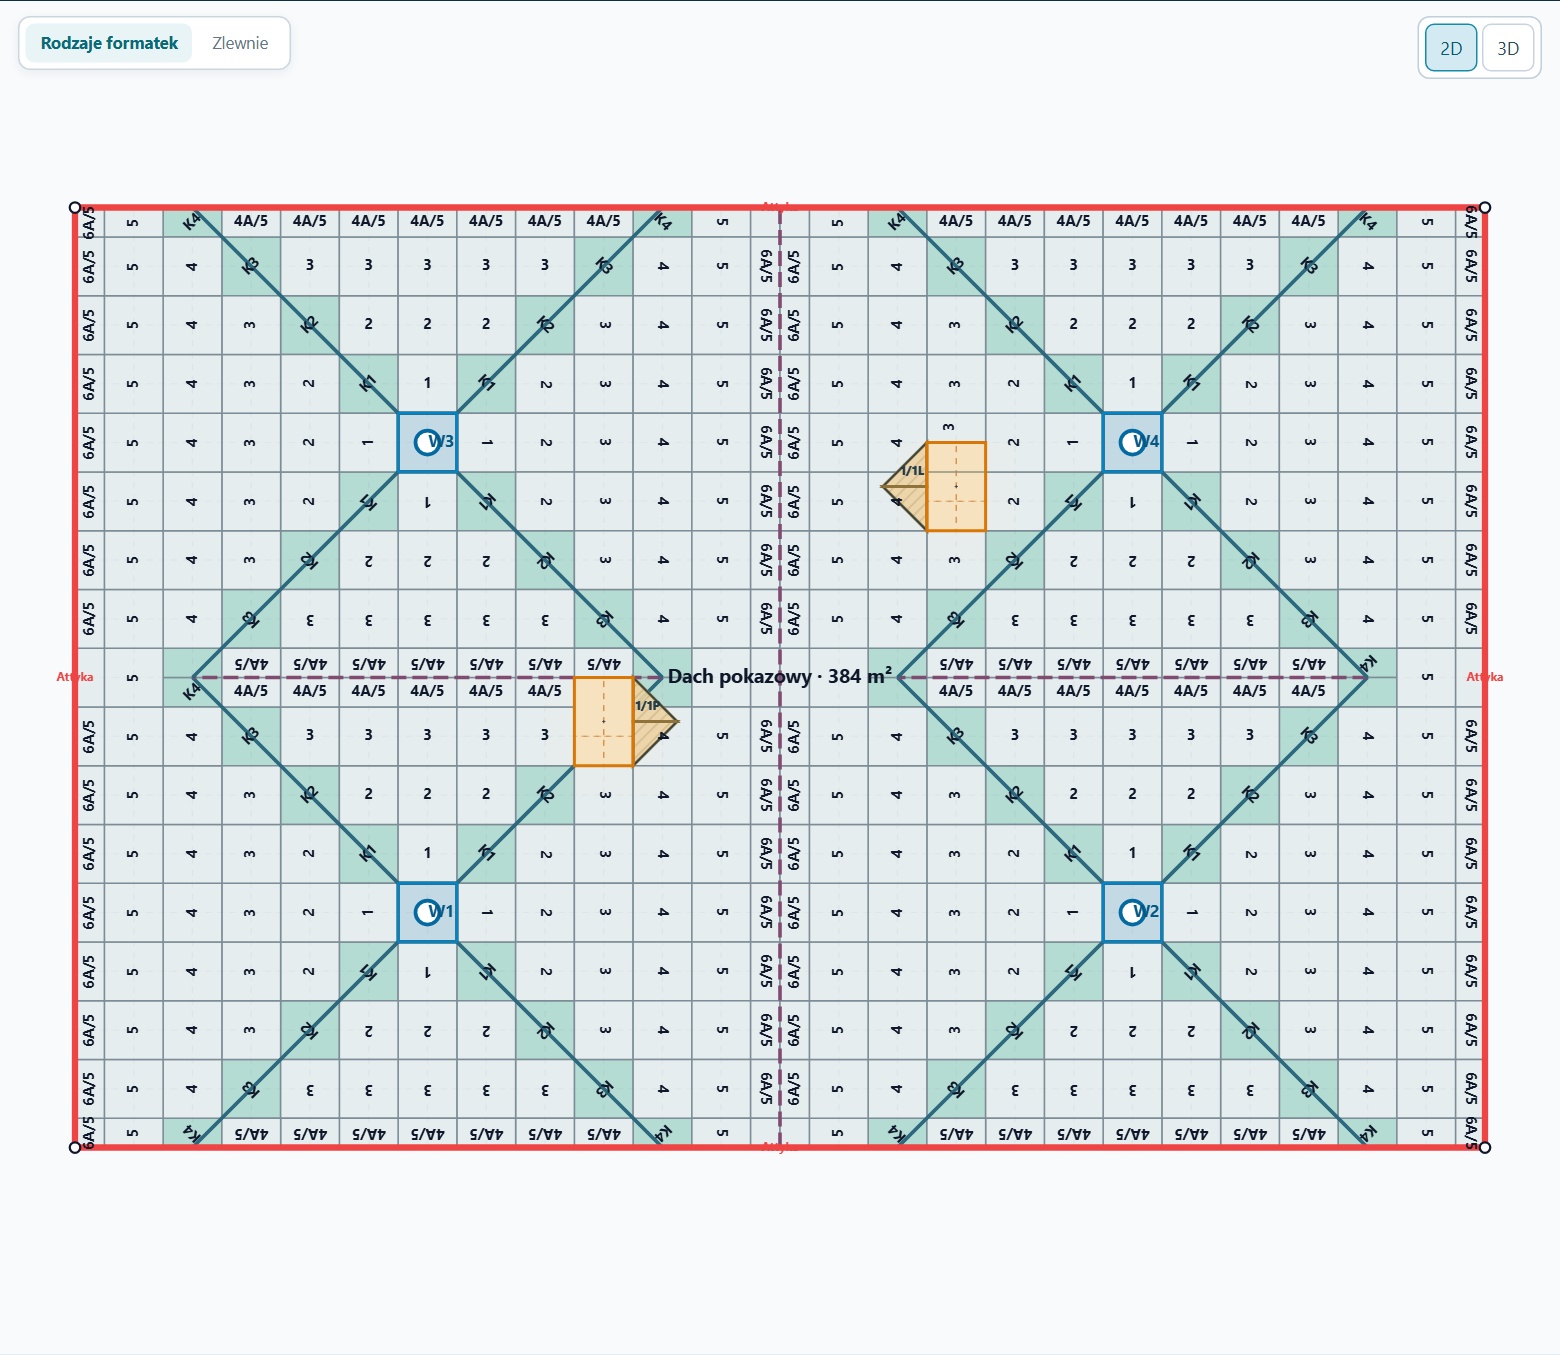 BOARD LAYOUT · DIMENSIONS · SCHEDULES
Board layout, quantities and roof parameters. A separate document without quotation prices.
Open sample PDF (Polish) ↗2D and 3D views, boards and sections. Clients explore the project in a browser without a designer account.
Open sample HTML project ↗No login · 384 m² · 4 outlets · 2D and 3D views
Learn without signing in
29 chapters, search and screenshots. Practical walkthroughs explain each action and how to read the results.
Read the manual →Watch drawing, roof review, documentation and production preparation. Use chapters to jump to the feature you want to explore.
Watch the presentation →Open a completed roof. Select a board, draw a section and switch to 3D. You do not need an account to explore the example.
Explore the sample project ↗See it in action
Watch the full presentation or jump to a stage. Follow the workflow step by step.
The presentation uses a demo project. The evolving application may look different.
Choose a topic and jump straight to it. The video covers drawing, visualisation, documents and the SlopeCut connection.
Sloper WEB runs in your browser. Create a company account to start designing. A local SlopeCut installation and connector are only needed to send layouts to a cutter.
New companies receive a 14-day trial. The first account is the administrator; you can add employees with individual profiles and PINs. We agree further access terms individually.
Projects are stored on the server in your company's workspace. Imported backgrounds last for the current session and must be added again next time. Download project copies, PDFs, DXFs and interactive files to your computer.
Share a quotation, a separate installation plan without prices and interactive HTML with drawings, properties and a 3D view. The interactive file opens without a designer account.
Sloper prepares cutting layouts and DXF files and connects to SlopeCut. Contact us to confirm compatibility with your cutter and how to set up the connection.
Your next roof
Try Sloper on your own project.
Talk to us about team access and cutter integration.
The team behind Sloper
Roszków 82 A
63-200 Jarocin, Poland
Software built for
tapered insulation design and production.